If you want to fit my car seat covers correctly, the short answer is this: choose the right size, match the seat shape, and install them with patience. A good set should sit snugly, protect the upholstery, and still let you use every adjustment, buckle, and airbag feature without hassle.
In our experience, the best results come from checking more than just the make and model. We found that seat width, headrest style, armrests, and split-bench layouts can change the fit a lot. We recommend measuring first and reading the product details carefully, because a “universal” cover can still fit very differently.
One tip most guides miss: the underside matters as much as the top. If the straps, hooks, and retention points are awkward or too short, the cover can look fine on day one and start shifting by week two. We always check how the cover anchors beneath the seat before we trust the advertised fit.
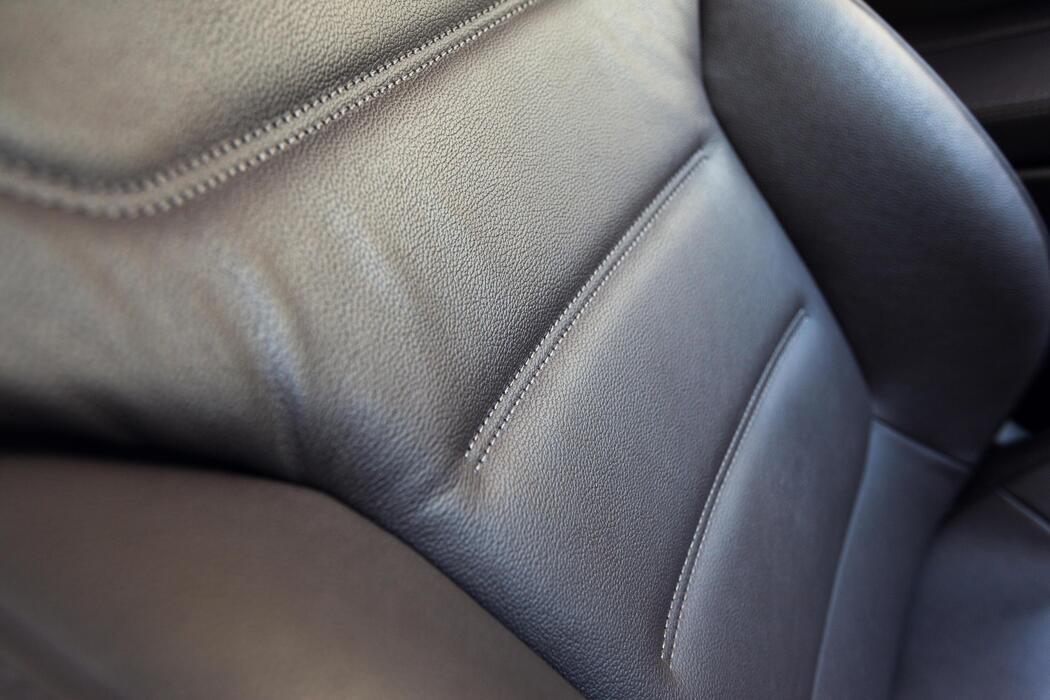
A common mistake is assuming a tight-looking cover is the same as a proper fit. It is not. If the fabric fights the seat shape, blocks side airbags, or leaves seams under stress, it may look neat at first but wear out fast. The real goal is a secure, tailored fit that works with the seat, not against it.
Below, we break down the easiest way to get a clean fit, avoid the usual frustrations, and decide when a custom option is worth it. If we want seat covers that stay put and look intentional, the details matter more than the marketing claims.
In This Guide
- How to fit your car seat covers so they stay snug and wrinkle-free
- Quick comparison of seat cover types, fits, and installation ease
- Getting the right match: seat shape, airbags, headrests, and split benches
- The install process that saves time and prevents sagging
- Fit my car seat covers without fighting the fabric: common problems and fixes
- Tricks for tightening loose covers and smoothing out bunching
- When a custom fit is worth it for your car seat covers
How to fit your car seat covers so they stay snug and wrinkle-free
Start with a clean, dry seat and a cover that matches the seat shape as closely as possible. We suggest loosening all straps, tucking the cover loosely into the seat creases first, then tightening from the center outward. That order helps keep the fabric aligned instead of chasing wrinkles after everything is already clipped.
Headrest covers, seat backs, and cushions should each be positioned before you fully tension the straps.
For the best finish, use your hands to work the material into the bolsters and seams, especially around the lower seat base. In our experience, a small plastic trim tool or a wrapped credit card can help tuck edges without damaging stitching.
If the cover has hooks or elastic loops, pull them evenly on both sides so the tension stays balanced. Uneven tightening is one of the fastest ways to create puckering.
After installation, sit in the seat once or twice to let the fabric settle, then retighten any loose points. This step matters because many materials relax slightly after the first use, especially neoprene and padded polyester covers. We recommend checking the backrest, seat base, and side seams after 24 hours as well.
A final pass with your hands can smooth out minor ripples and give the seat a factory-fitted look.
Quick comparison of seat cover types, fits, and installation ease
| Seat cover type | Typical fit | Installation ease | Best for |
|---|---|---|---|
| Universal covers | Flexible, one-size approach | Easy to moderate | Budget upgrades and quick refreshes |
| Semi-custom covers | Better contour matching | Moderate | Most daily drivers |
| Custom-fit covers | Closest to factory shape | Moderate to difficult | Cleaner look and tighter finish |
| Neoprene covers | Snug, stretch-friendly fit | Moderate | Active use and spill resistance |
| Leatherette / vinyl covers | Structured, smooth finish | Moderate to difficult | Easy cleaning and a polished appearance |
Universal covers are usually the quickest option, but they often need more adjusting because they rely on elastic, straps, and extra material. Semi-custom and custom-fit designs take longer up front, yet they typically stay smoother once installed. We recommend choosing the closest match to your seat shape if you want fewer wrinkles and less re-tensioning over time.
Fit quality usually matters more than fabric alone.
Neoprene tends to hug the seat well, which helps it stay tidy on contoured cushions, while leatherette and vinyl can look especially neat when the pattern matches the original seat profile. That said, structured materials are less forgiving during installation, so alignment has to be right from the start.
In our experience, the easier a cover is to install, the more often it may need small corrections later.
If you want the best balance of convenience and appearance, we suggest semi-custom covers for most vehicles. They usually cover the key dimensions without the premium effort of a true custom set. For older cars, work trucks, or family vehicles, that middle ground often delivers the cleanest result for the time invested.
The right choice is the one that fits your seat shape and your patience level.
Getting the right match: seat shape, airbags, headrests, and split benches
Before ordering, we recommend checking the exact seat layout, because small differences can make a big difference in fit. Measure the seat back height, cushion width, and whether the seat has deep bolsters, built-in headrests, or an unusual recline shape.
A cover that looks close on paper may still bunch up if the seat has aggressive contours or extra-thick side supports. Seat shape is the first filter.
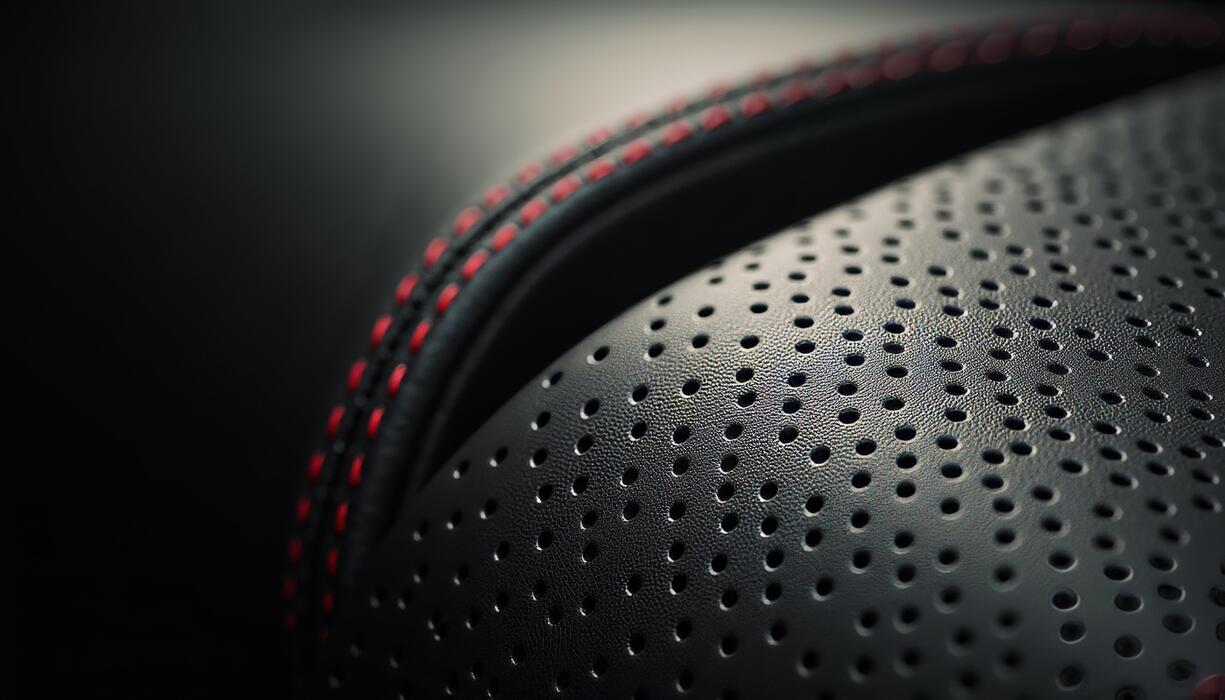
Safety features matter just as much as fit. If your car has side airbags in the seats, look for airbag-compatible covers with special stitching or designated tear-away seams. We suggest never forcing a standard cover over an airbag seam, because that can interfere with deployment.
Headrest style also matters: integrated headrests need different patterns than removable ones, and some covers are built specifically for one or the other.
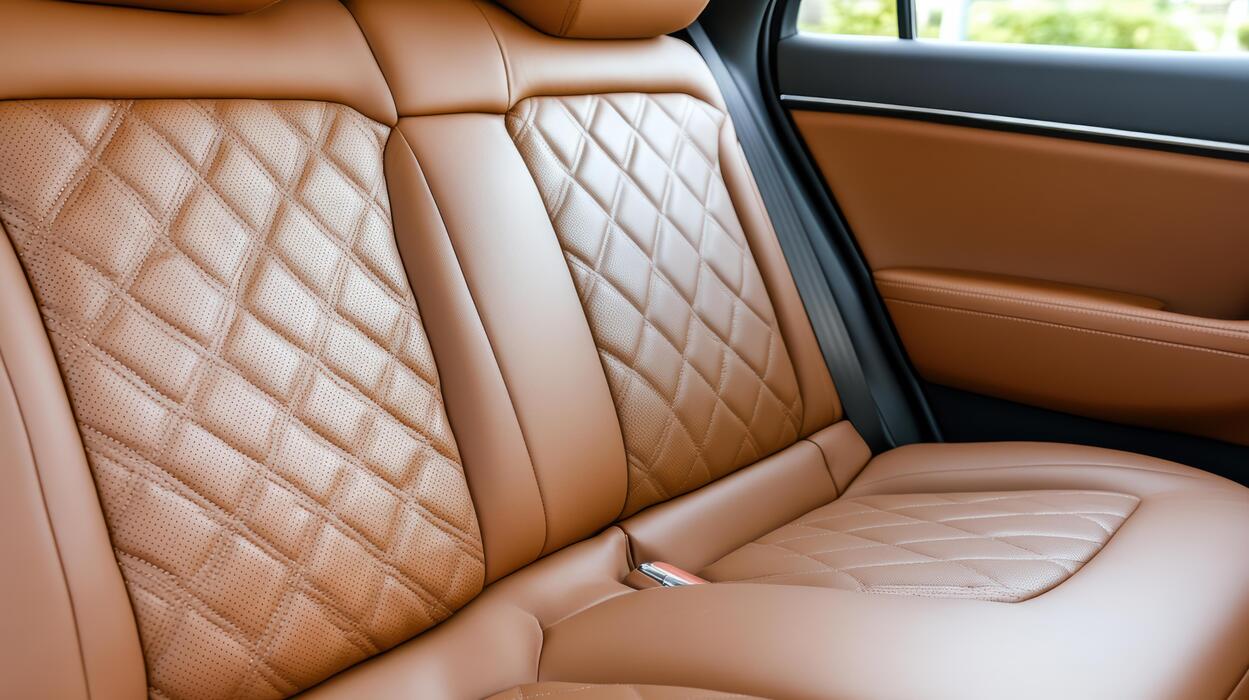
Split benches are another detail we see overlooked often, especially in SUVs and pickup trucks. If the rear seat folds in 60/40 or 40/20/40 sections, the cover must allow each section to move independently without pulling tight across the hinge area. We suggest confirming whether the armrest, seat belt openings, and folding tabs are exposed or covered.
Matching those details upfront saves a lot of frustration later.
The Install Process That Saves Time and Prevents Sagging
A smooth install starts before the first strap goes on. We recommend laying out every piece, checking the headrest openings, and identifying the front, rear, and side panels before you begin. A quick prep step like this can save 10-15 minutes and helps prevent the most common mistake: forcing the wrong panel into place.
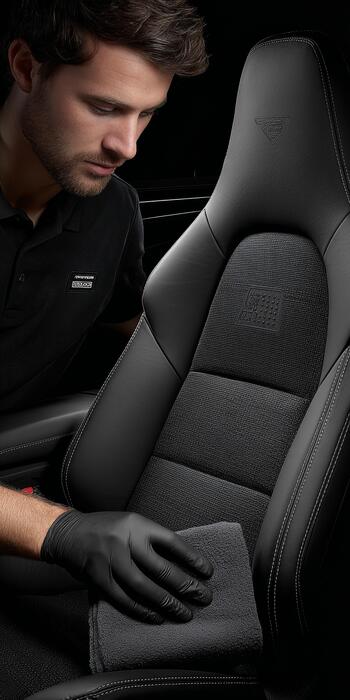
In our experience, the best-fitting covers always look better when the seat is clean, dry, and free of debris.
Next, work from the top down and from the center outward. Slide the cover over the backrest first, then secure the anchors under the seat before tightening anything fully. That order matters because it lets the material settle naturally instead of stretching unevenly. We suggest pulling each strap snug in small increments, then checking the surface for tension.
Even pressure is what prevents sagging later, especially around the bolsters and seat edges.
Once the main shape is in place, take a few extra minutes to refine the fit. Tuck excess fabric into the seat seams with a plastic trim tool or a wrapped credit card, and recheck the attachment points after a short drive. Materials often relax slightly after 24-48 hours, so a final retightening usually improves the result.
That simple follow-up step can turn a decent install into a cleaner, factory-like finish.
Fit My Car Seat Covers Without Fighting the Fabric: Common Problems and Fixes
Loose corners, stubborn wrinkles, and twisted straps usually point to one of a few setup issues. The first thing we check is whether the cover is matched to the seat style—bucket, bench, split bench, or seats with built-in airbags. If the cut is off by even a little, the fabric will fight back no matter how hard we pull.
We suggest comparing the cover design to the seat shape before tightening anything.
Another frequent problem is trapped air and static in the material, especially with polyester and neoprene blends. That can make the cover feel oversized at first, even when it is the correct size. A light mist of water on your hands, plus gradual smoothing from the center outward, often helps the fabric relax.
For thicker covers, warming the material in a sunny driveway for 15-20 minutes can make it much easier to work with.
Strap routing also causes a lot of frustration. When straps cross the wrong anchor points, the cover pulls sideways and creates a lumpy finish. We recommend following the path shown by the manufacturer exactly, then checking under the seat for anything pinching the webbing.
If the seat has a lever, armrest, or adjustment rail in the way, reroute carefully rather than forcing the strap. Small routing changes usually solve big fitting problems.
Tricks for Tightening Loose Covers and Smoothing Out Bunching
When a cover starts to feel loose, the best fix is usually a combination of retensioning and repositioning. We suggest loosening the anchors slightly, smoothing the surface by hand, and then tightening each strap in alternating steps rather than all at once. That staggered approach keeps the fabric from pulling into one corner.
For stubborn slack, adding a small foam wedge or anti-slip pad beneath the cover can help stabilize the surface.
Bunching often appears where the seat curves the most, such as the shoulder bolsters or lower cushion edges. A careful tuck is usually more effective than over-tightening, because too much force can distort the shape and create new wrinkles.
We recommend working the fabric into the seam lines with your fingers first, then using a soft trim tool for the final adjustment. If the cover includes elastic edges, make sure they sit fully under the seat lip.
For a cleaner long-term fit, revisit the covers after a few days of use. Heat, movement, and repeated entry and exit can shift the fabric slightly, especially on heavily contoured seats. We suggest a quick monthly check of the straps and anchor points, plus a light smoothing pass after deep cleaning.
Consistent maintenance is what keeps covers looking tailored instead of baggy, and it usually takes less than 5 minutes per seat.
When a custom fit is worth it for your car seat covers
A custom fit is worth it when your seats have unusual shapes, built-in airbags, integrated headrests, armrests, or seat controls that a generic cover simply can’t handle cleanly. In our experience, vehicles with deep bolsters, split seats, or premium trim packages benefit the most because a loose cover can wrinkle, slip, or block important features.
If you want the cabin to look factory-finished, this is usually the smarter path.
Fit matters most when the vehicle gets heavy use. Family SUVs, work trucks, rideshare cars, and daily drivers with kids or pets often see constant sliding in and out, spills, and abrasion.
We recommend a custom option when you need durability plus a secure hold, because a better contour around the seat base and backrest reduces movement and helps the cover last longer. The extra precision can also make cleanup easier since there are fewer gaps for crumbs and dirt to hide.
If your priority is appearance and long-term performance, a custom fit usually justifies the higher price. Universal covers can be fine for quick protection, but they rarely match the seat like a made-to-fit design.
We suggest going custom when you plan to keep the car for several years, lease a vehicle you want to protect from wear, or drive a model with expensive upholstery. That added fit often pays off in comfort, resale value, and a noticeably better finish.
Frequently Asked Questions
How do we know if car seat covers will fit our car?
We recommend checking the year, make, and model of the vehicle first, then comparing that information with the cover’s fit guide. In our experience, universal covers may work for many seats, but custom-fit seat covers usually give the best results.
We also suggest looking at whether the seats have side airbags, armrests, or split-folding functions, since those details can affect fit and installation.
Are universal seat covers worth it, or should we choose custom-fit covers?
That depends on what we want most: convenience or precision. Universal seat covers are usually easier to buy and install, but they may sit looser or shift over time. Custom-fit covers are designed for a specific vehicle or seat style, so they tend to look cleaner and stay in place better.
We’ve found custom options are usually the better choice for a snug, factory-style finish.
Will seat covers fit over heated or ventilated car seats?
Some will, but not all. We need to confirm that the cover material is compatible with heated seats or ventilated seats, because thick or poorly designed covers can reduce performance. In many cases, breathable materials work better for ventilation, while thinner covers are better for heat transfer.
We always recommend checking the product details before buying to avoid blocking these seat features.
Can we install car seat covers ourselves?
Yes, most people can install them at home with basic patience. We’ve found that a good installation usually starts with removing headrests, slipping the covers over the seat, and securing straps or hooks underneath. Taking time to smooth out wrinkles makes a big difference.
If the cover is custom-fit, the process may take longer at first, but the final result is usually tighter and neater.
How do we clean and maintain car seat covers?
The best method depends on the material. Fabric covers often respond well to vacuuming and mild soap, while leather or faux leather covers usually need a damp cloth and gentle cleaner. We recommend checking the care label before cleaning. Regular maintenance helps prevent stains, odors, and wear.
If we clean spills quickly and avoid harsh chemicals, the covers usually last much longer.
Final Thoughts
Choosing the right fit for car seat covers comes down to matching the cover with the seat design, material, and features in the vehicle. We’ve found that a proper fit improves comfort, protects the original upholstery, and gives the interior a more finished look.
Whether we choose universal or custom-fit options, paying attention to seat shape and installation details makes the biggest difference.
If we’re still deciding, the best next step is to measure the seats, review compatibility notes, and compare a few options before buying. A little preparation now can save time later and help us get a cleaner, more secure result. When the fit is right, the covers work better and the car interior feels easier to maintain.
Leave a Reply